Okay, so picture this: I was building this epic castle in Minecraft, right? I had the walls, the towers, even a slightly-too-dramatic moat filled with, um, "friendly" villagers. But something was missing. The great hall felt… sterile. Lifeless. It needed some pizzazz! I stared at the ceiling, feeling utterly uninspired, until my cat, Mr. Fluffernutter, decided my keyboard was a comfy nap spot. And then it hit me! A stained glass window! More specifically, a glorious rose window! But… how?
That’s when the research rabbit hole began. And, let me tell you, there’s a lot of misinformation out there on the Minecraft interwebs. So, I figured, why not share my hard-won (and Mr. Fluffernutter-approved) knowledge on how to make a stunning rose window in Minecraft? Let's dive in!
The Basics: What You'll Need
First things first, supplies! This isn't exactly rocket science, but you'll definitely need:
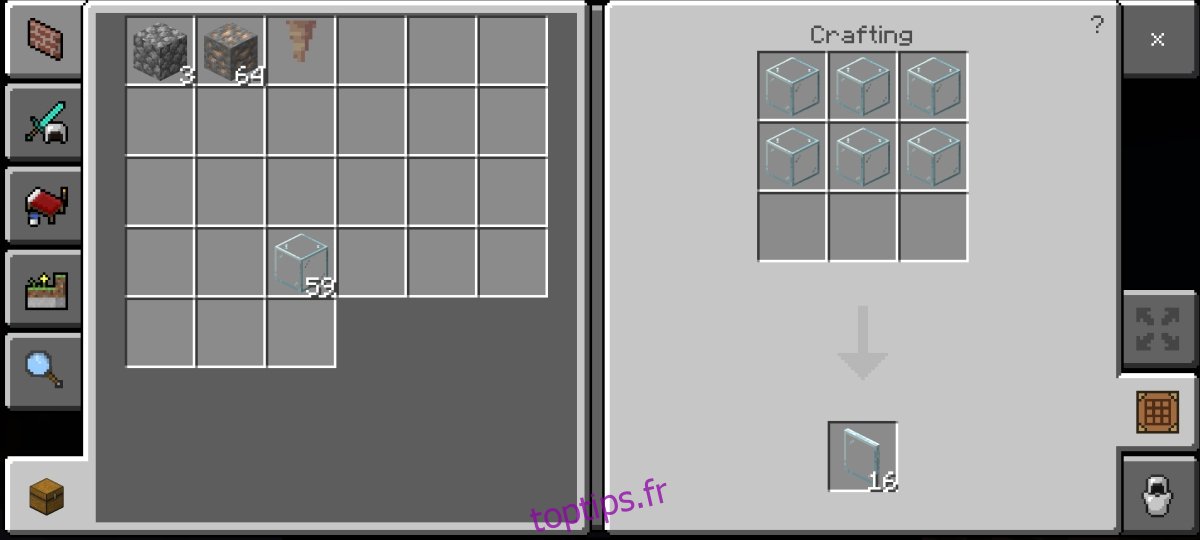
- Glass blocks. Lots of 'em. And in different colors! Don’t be shy. Experiment.
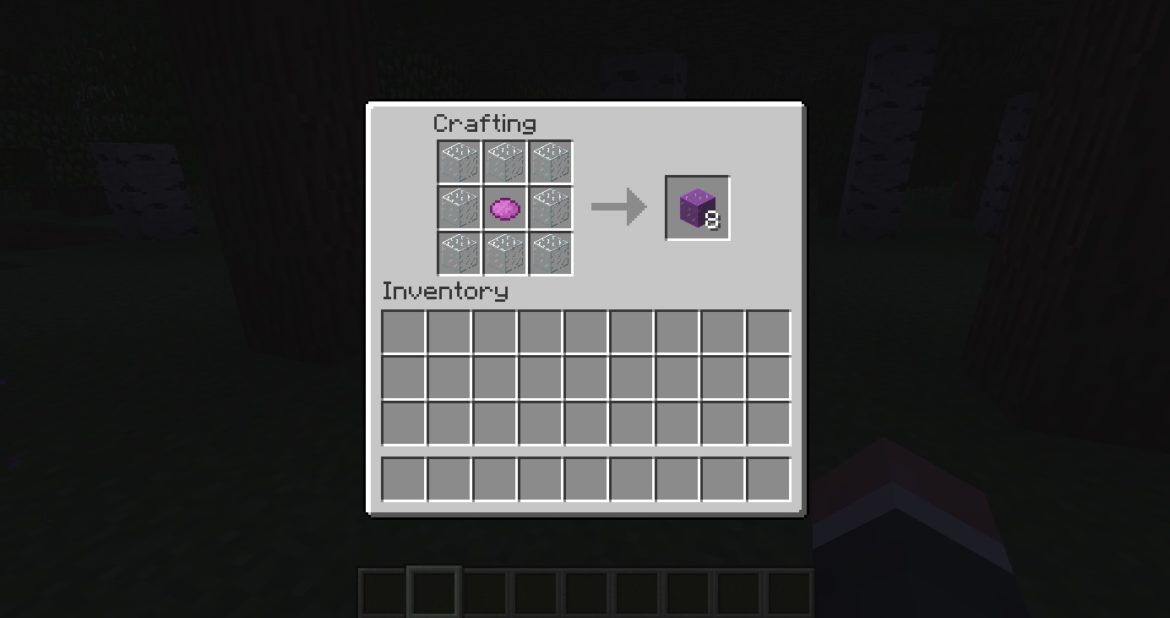
- Dyes. For staining the glass, obviously. We're going for beauty here, not just "see-through rectangle."
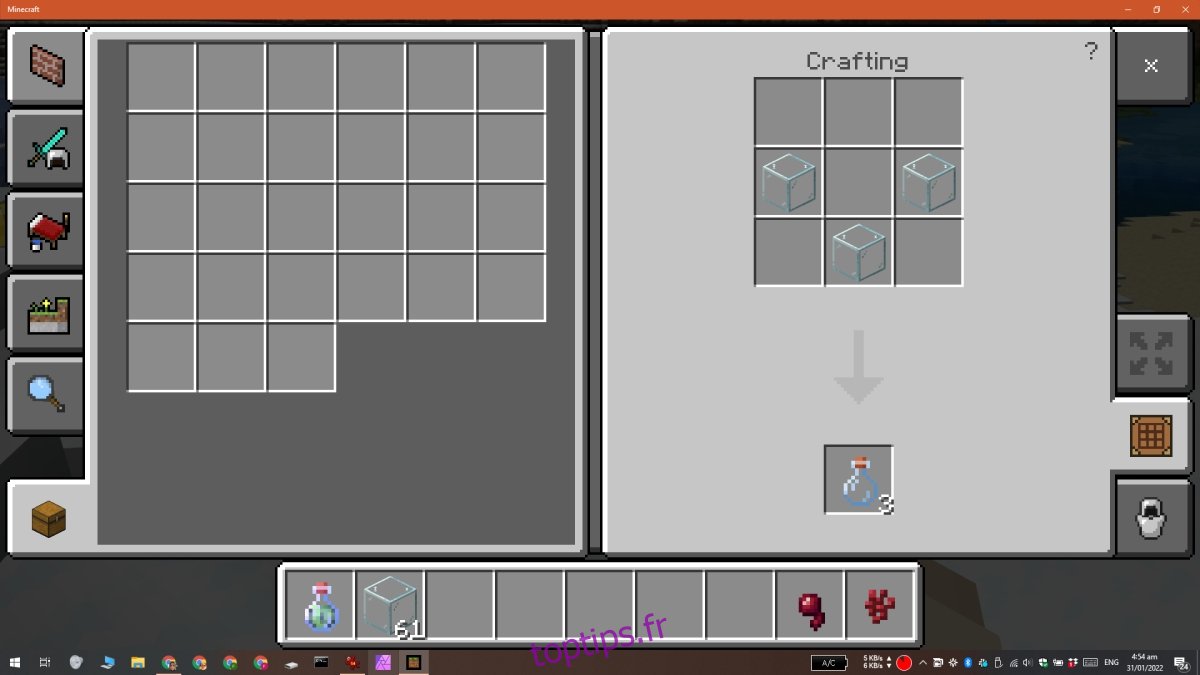
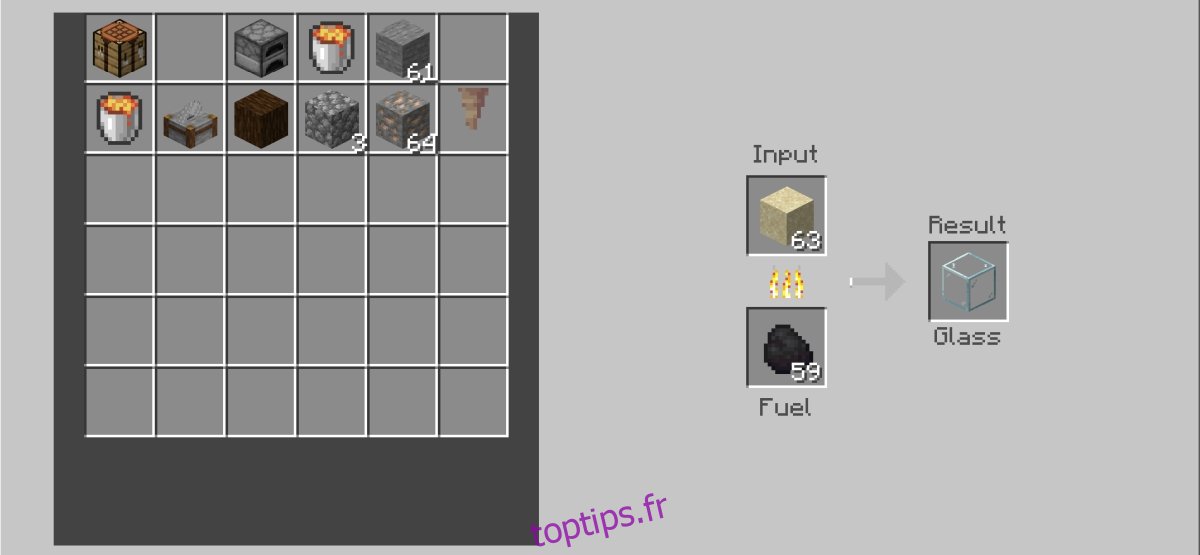
- A furnace. To, ya know, make the stained glass. Unless you found a desert temple with pre-stained glass, in which case, lucky you!
- Building blocks. Stone, wood, whatever floats your blocky boat. These will be your scaffolding.
- Patience. Seriously. This takes time. Don't expect a masterpiece in five minutes.
Pro tip: Consider using a Creative Mode world for initial design. It saves on resources and reduces the frustration when you inevitably mess up (and trust me, you will mess up. We all do!).
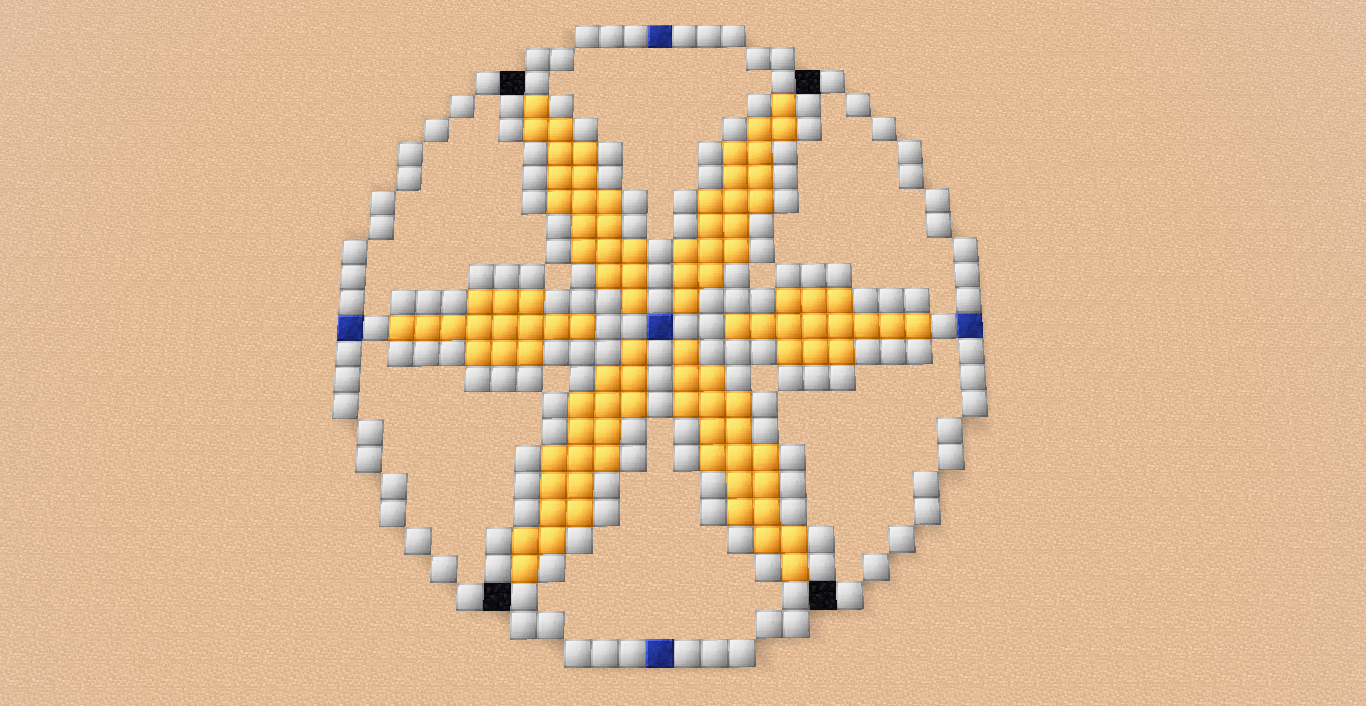
The Design: Circles and Symmetry
Rose windows are all about circles and symmetry. So, grab your virtual compass (aka your imagination) and get planning!
The Core Circle: Start with a central circle. This is the heart of your rose window. A simple circle of glass is a good starting point. Think of it as your canvas.
The Radiating Design: From the core, create radiating lines. These are your "spokes." You can use different colors of glass for each spoke to create a vibrant effect. The number of spokes determines the complexity of your design. Don’t go overboard, or it’ll look cluttered. (Less is often more, even in Minecraft.)

Fill in the Gaps: Now for the fun part! Fill in the spaces between the spokes with more glass. This is where you can get really creative. Consider using geometric shapes, curves, or even abstract designs. Play around with different colors and patterns.
Side note: Look up real-world rose windows for inspiration! Notre Dame has some absolute stunners. But, you know, maybe avoid accidentally setting yours on fire. Just a suggestion.
Building It: Block by Block
This is where the "block" part of Minecraft really comes into play. Start with a template. Build your rose window on the ground, using your building blocks to outline the shape.
Once you're happy with the template, start placing the glass. Work from the center outwards, carefully following your design. Don't be afraid to make mistakes! You can always break a block and try again. (Thank goodness for instant block-breaking!)
Scaffolding is your Friend: Build scaffolding around your window as you go. This will allow you to reach the higher parts of the design without falling to your pixelated doom. Nobody wants to respawn just because they got a little too enthusiastic with their stained glass.
Lighting: Consider adding a light source behind your rose window. This will make the colors really pop and create a stunning visual effect. Torches, glowstone, or even strategically placed sea lanterns can all work wonders.
Fine Tuning and Final Touches
Step back and admire your creation! Is there anything you want to tweak? A color you want to change? A block you want to move? Don't be afraid to experiment until you're completely satisfied.
And there you have it! Your very own rose window in Minecraft! Now you can bask in the glory of your creation and impress all your blocky neighbors. Just try not to let Mr. Fluffernutter claim it as his new nap spot. (Although, let's be honest, you'll probably give in anyway.) Happy crafting!