Okay, picture this: I'm in the middle of a drawing frenzy, feeling super inspired (you know the feeling, right?), and BAM! A big, ugly smudge right across my masterpiece. Panic sets in. My usual eraser? Gone. Vanished. Poof! Disappeared into the abyss of my art supplies chaos. Sound familiar? I swear they grow legs and walk away sometimes.
So, what's an artist to do? Rummage frantically through drawers? Admit defeat and abandon the project? Nope! I remembered a trick my grandmother used to show me: making an eraser out of bread. Yep, you read that right. Bread! Le mie de pain, as the French say. And trust me, it works wonders. Prepare to have your mind blown!
That’s right! Today, we’re diving into the surprisingly effective world of homemade bread erasers. Sounds a little crazy, I know, but bear with me.
Why a Bread Eraser? Seriously?
I know, I know. You’re probably thinking, "Bread? To erase? What kind of witchcraft is this?" But hear me out. A bread eraser is not just some quirky, old-fashioned thing. It's actually quite practical, especially for delicate drawings. It's softer and less abrasive than many commercial erasers, meaning it's less likely to damage your paper. Think of it as a gentle, fluffy cloud whisking away your pencil marks.
Plus, it’s incredibly easy and cheap to make. Seriously, who doesn't have bread lying around? (Okay, maybe you’re on a strict keto diet… but even then, you can probably find a crusty baguette somewhere.)
The Ultimate "Gomme Mie de Pain" Recipe (Kind Of)
Alright, let's get down to the nitty-gritty. You’ll need only one ingredient, as implied above:
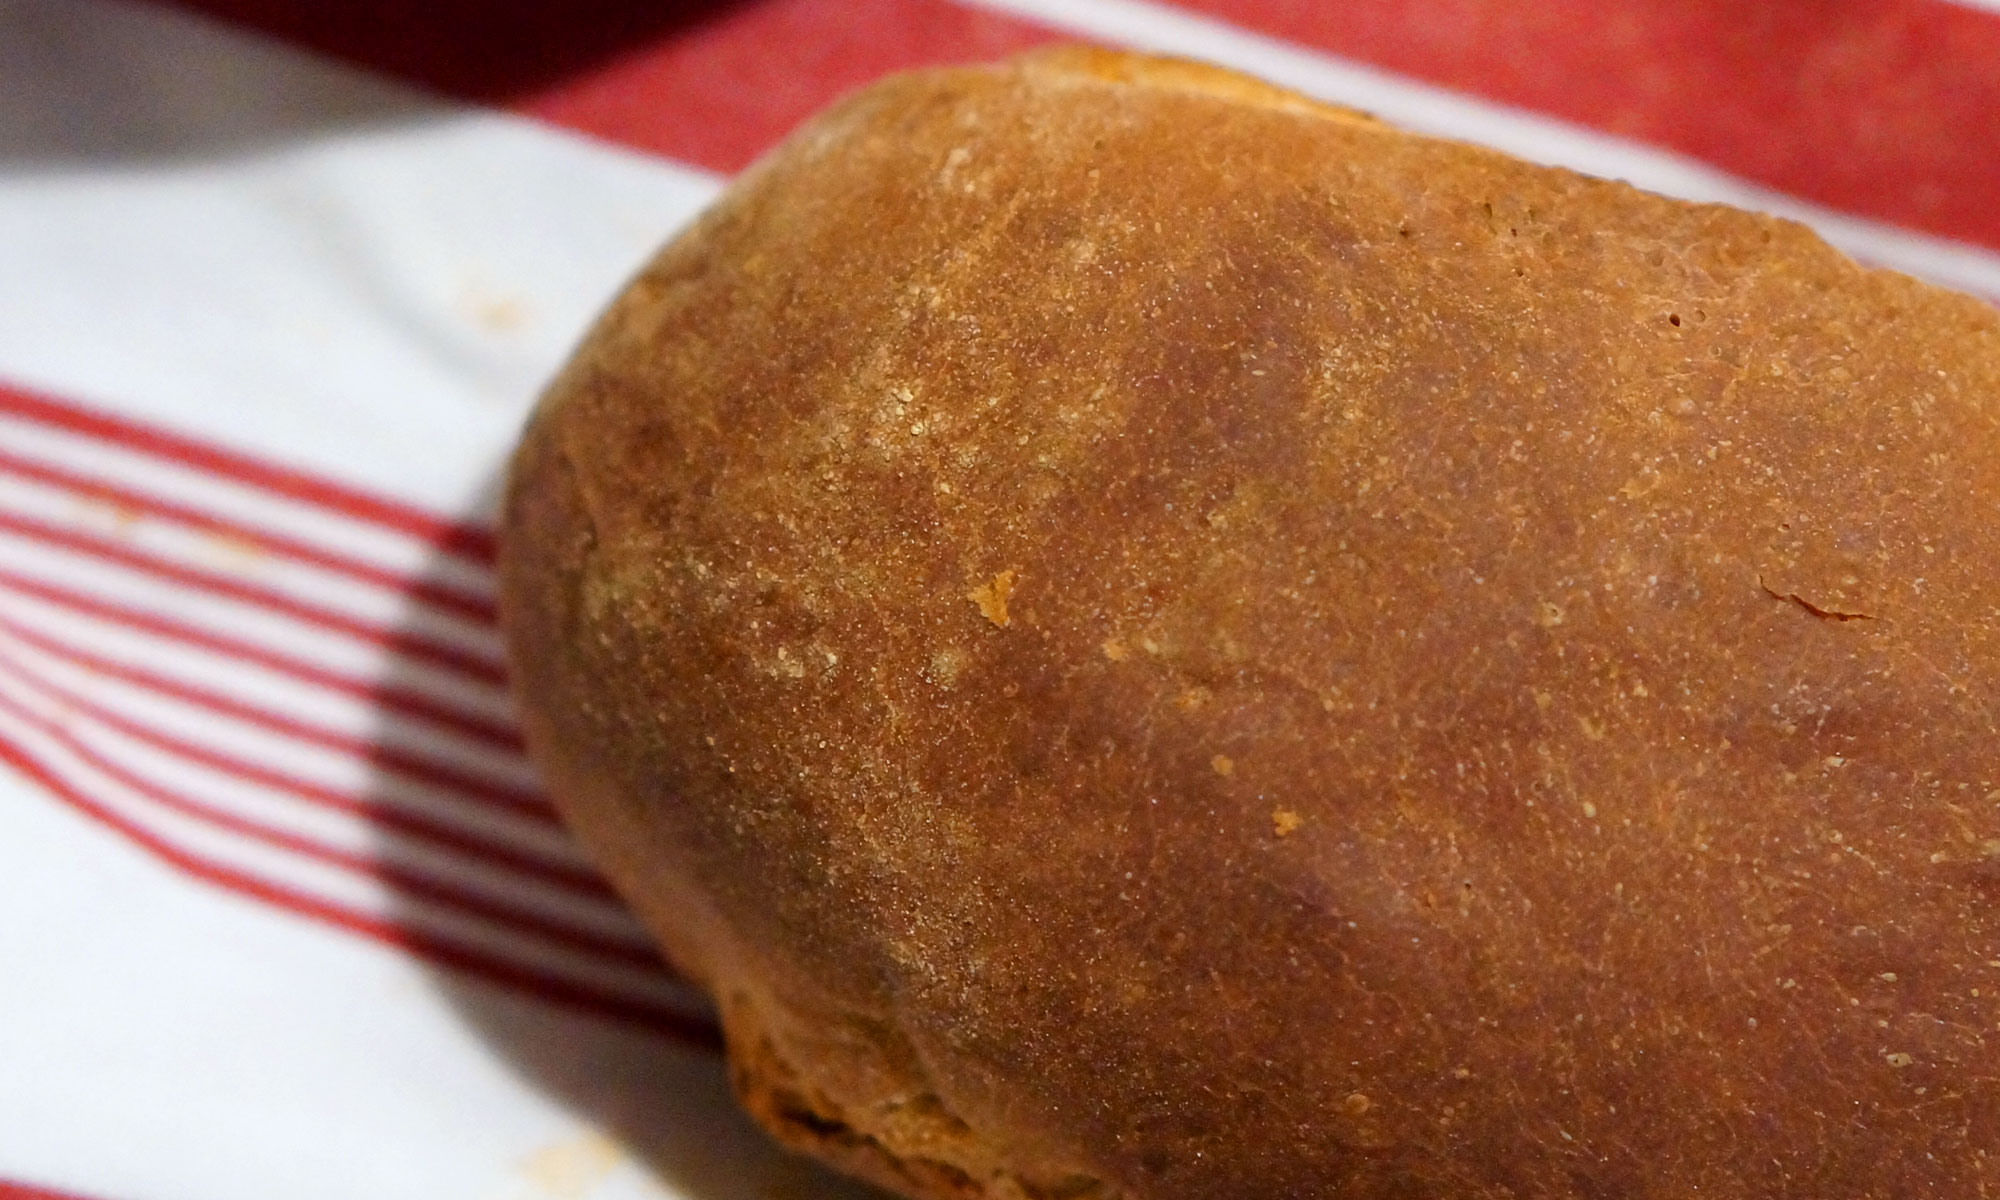
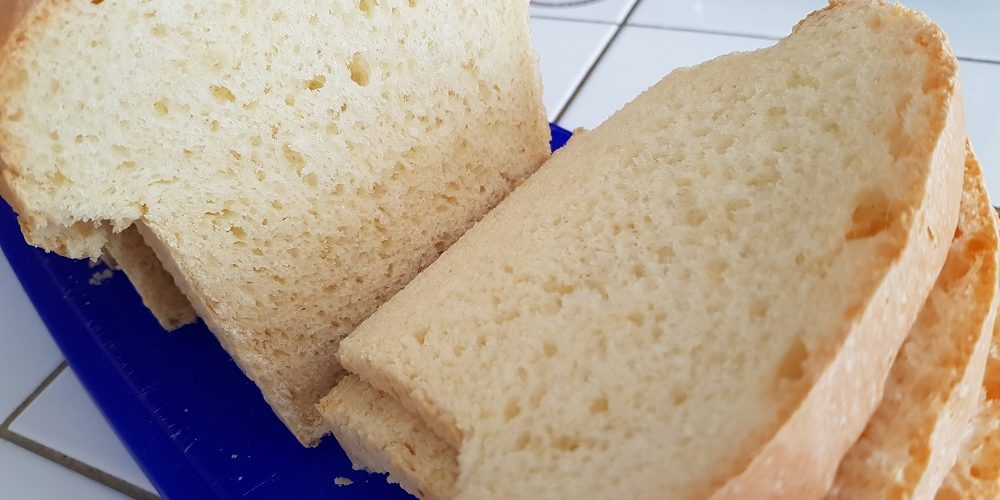
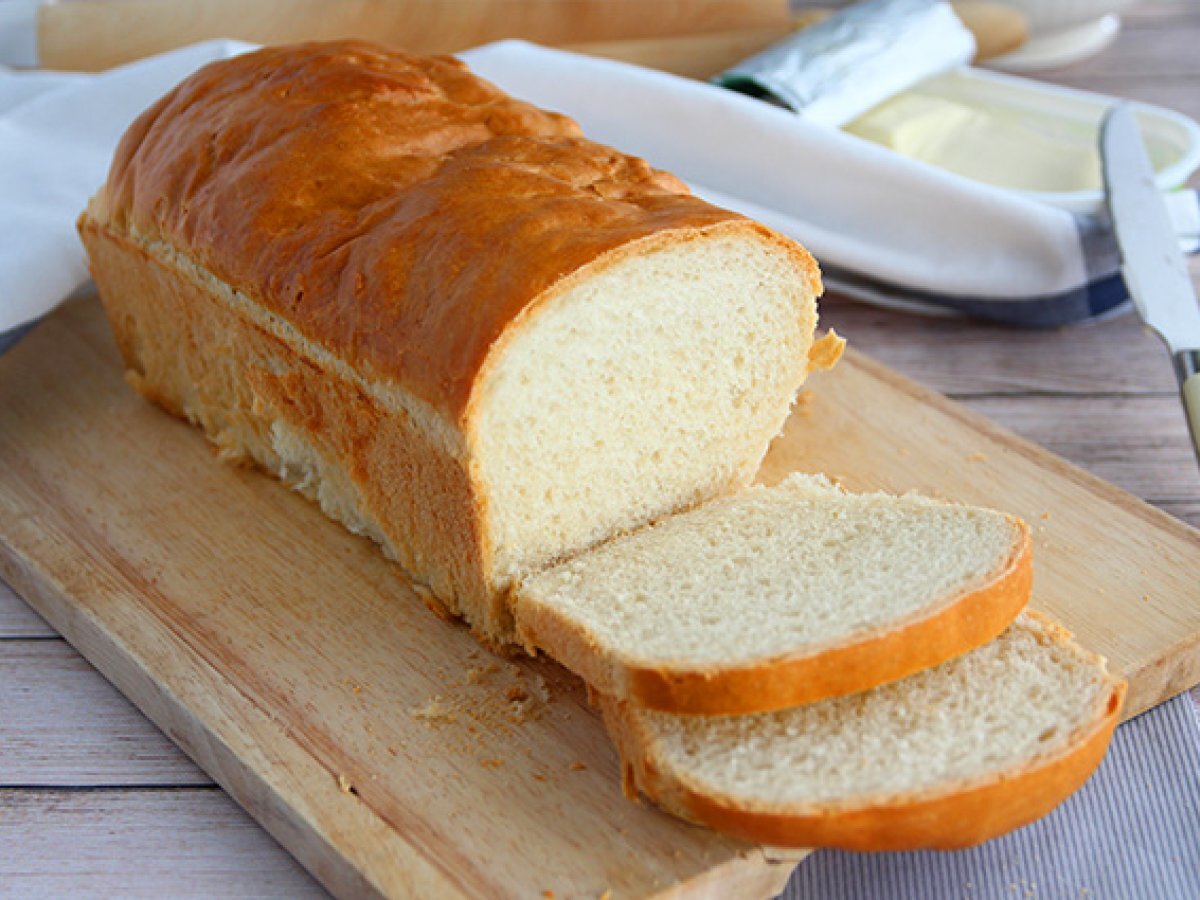
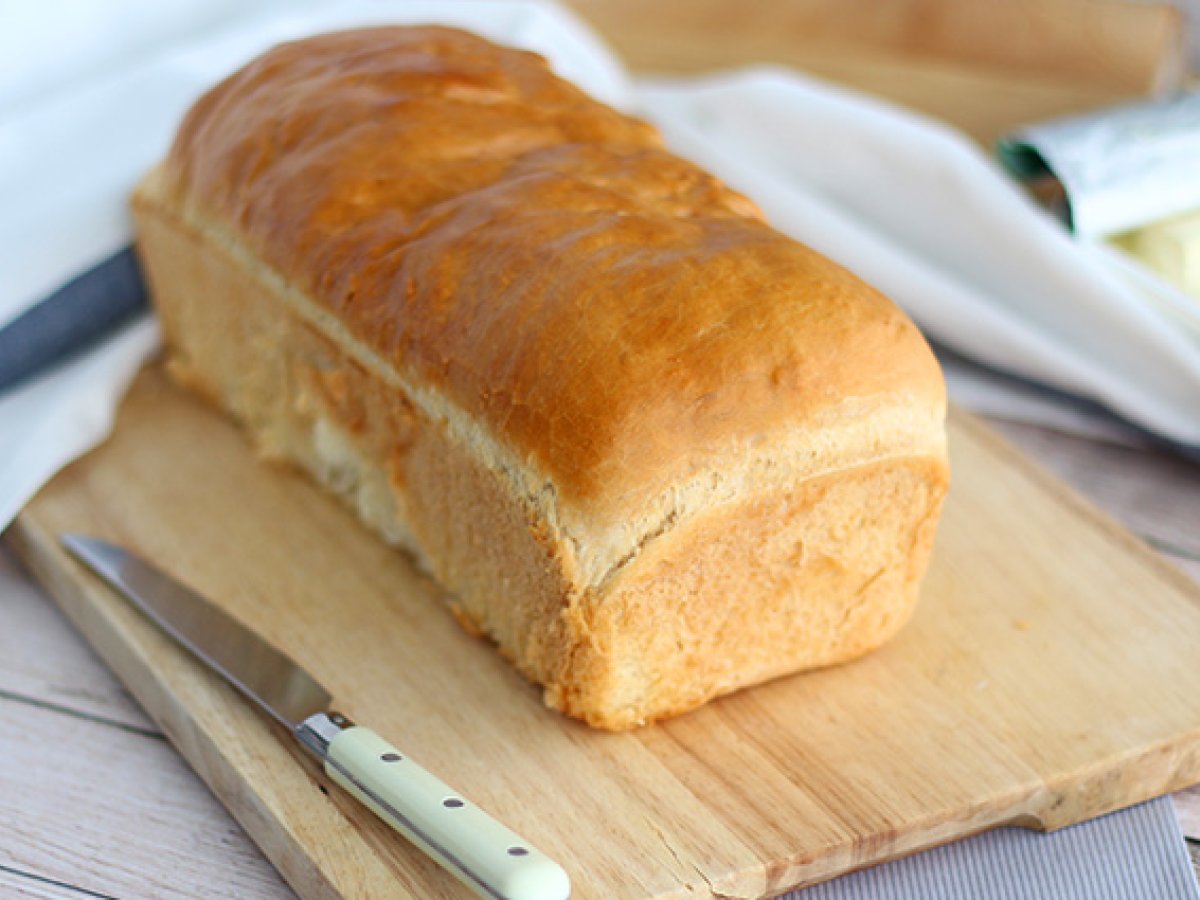
- White Bread: This is key. You want soft, white bread with a fine crumb. Think baguette interior or even sandwich bread (although baguette works best!). Brown bread? No way. Too rough! You want that douceur, that gentleness.
And… that's it! Minimalist baking at its finest.

How to Make Your Bread Eraser: A Step-by-Step Guide
This is where the "recipe" gets a little… abstract. But trust me, it's super simple.
- Remove the Crust: Carefully tear away the crust from your slice(s) of bread. We only want the soft, squishy interior. This is important! The crust is our enemy in this scenario.
- Knead It: Start kneading the soft bread in your hands. The goal is to compress it into a dense, pliable ball. Keep kneading until it forms a cohesive mass. Don’t be afraid to really work it! (It’s good exercise for your hands, too.)
- Shape It: Shape your bread eraser into whatever form you find most comfortable to hold. A small ball? A rectangle? Go wild! Just make sure it's compact and doesn't crumble easily. Think Play-Doh, but…breadier.
- Test It Out: Now for the fun part! Gently dab or roll your bread eraser over the pencil marks you want to remove. Don't rub too hard! The key is to use light pressure. The bread will absorb the graphite.
That's it! You've officially crafted your own gomme mie de pain. Congratulations! Now go forth and erase!
Pro Tips & Tricks for Bread Eraser Mastery
Okay, so you've made your bread eraser. But here are a few extra pointers to take you from bread-erasing novice to pro:
- Keep it Clean: Bread erasers can get dirty quickly, especially if you’re working with charcoal or heavily shaded areas. Knead it occasionally to expose a clean surface, or simply tear off the dirty part and keep on going.
- Storage: Bread dries out fast. Store your eraser in an airtight container or a plastic bag to keep it soft and pliable for as long as possible. But let's be honest, it probably won't last forever. (Hence the "recipe" being so quick.)
- Experiment! Not all breads are created equal. Try different types of white bread to see which one works best for you. Maybe you'll discover a hidden gem!
- Don't Use it on Precious Artwork: While bread erasers are gentle, always test them on a scrap piece of paper first, especially if you're working on a valuable or irreplaceable drawing. Better safe than sorry!
So there you have it! A simple, effective, and slightly bizarre way to erase pencil marks. Next time you're in an art supply emergency (or just feeling a bit crafty), give it a try. You might be surprised at how well it works! And who knows, maybe you'll even impress your friends with your newfound bread-erasing skills. Now, if you’ll excuse me, I have a baguette calling my name... and some smudges that need fixing.